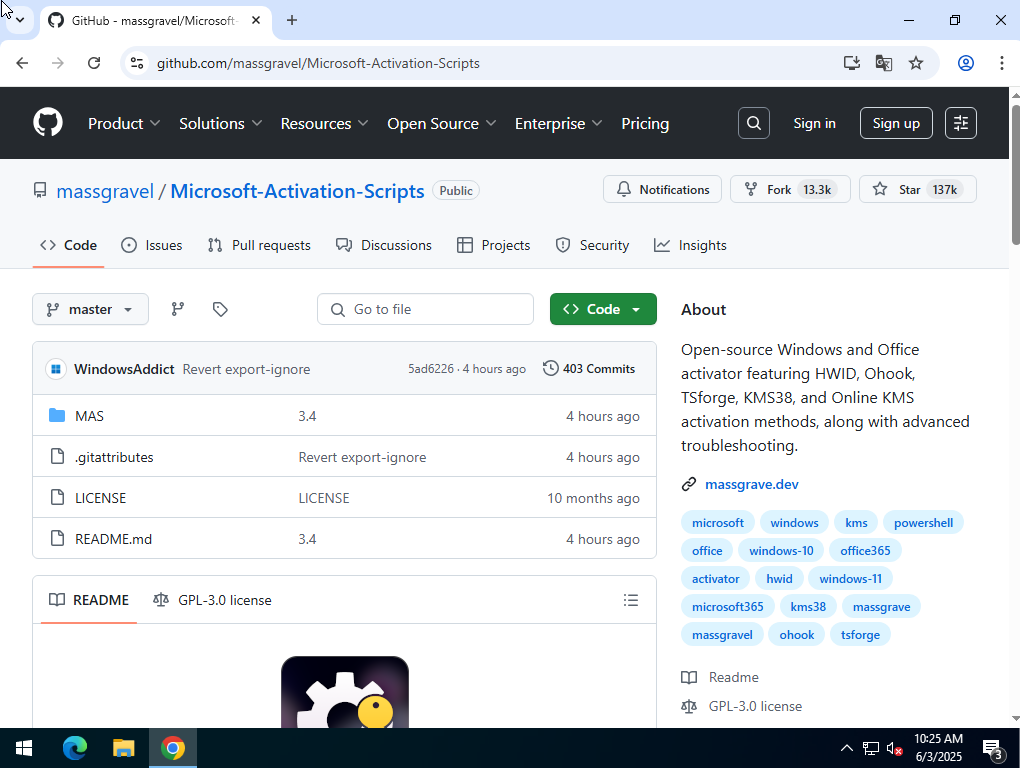
Go to the GitHub Windows Activation page here.
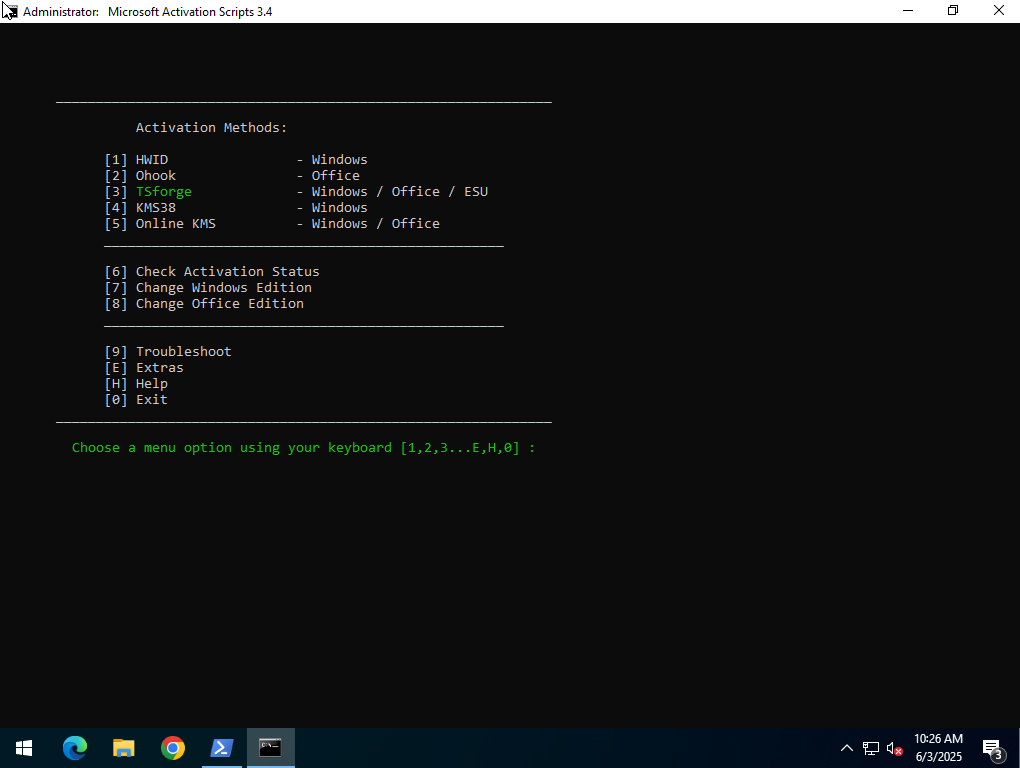
Use the option 'Change Windows Edition'.
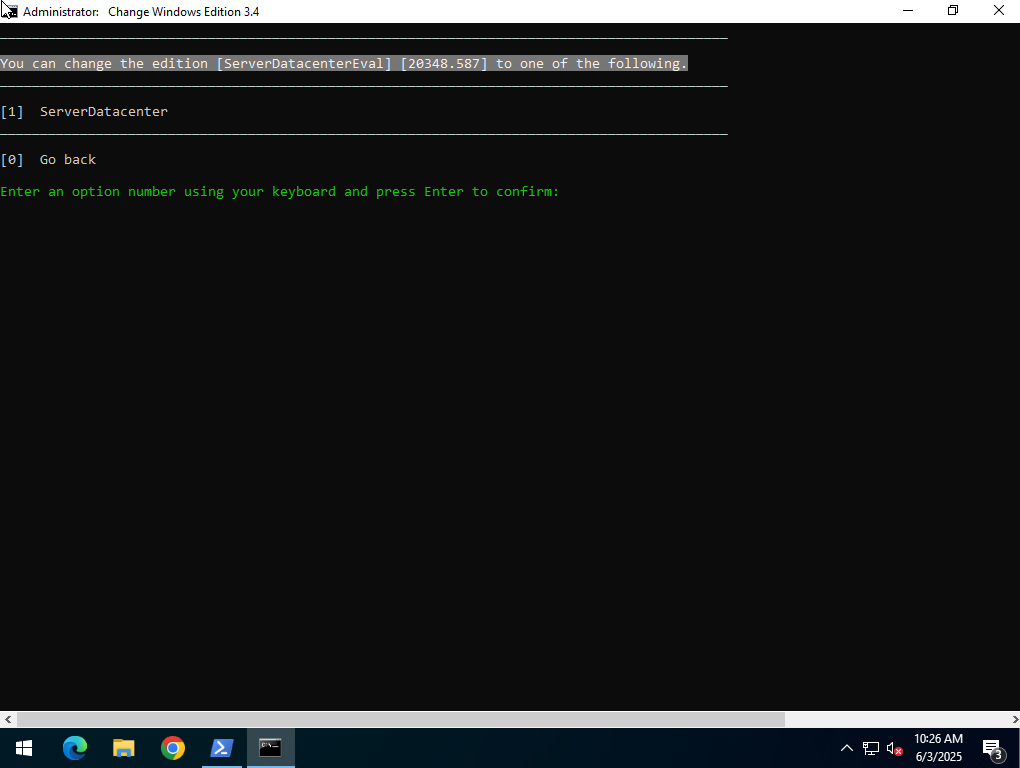
Change the version to 'ServerDatacenter'.
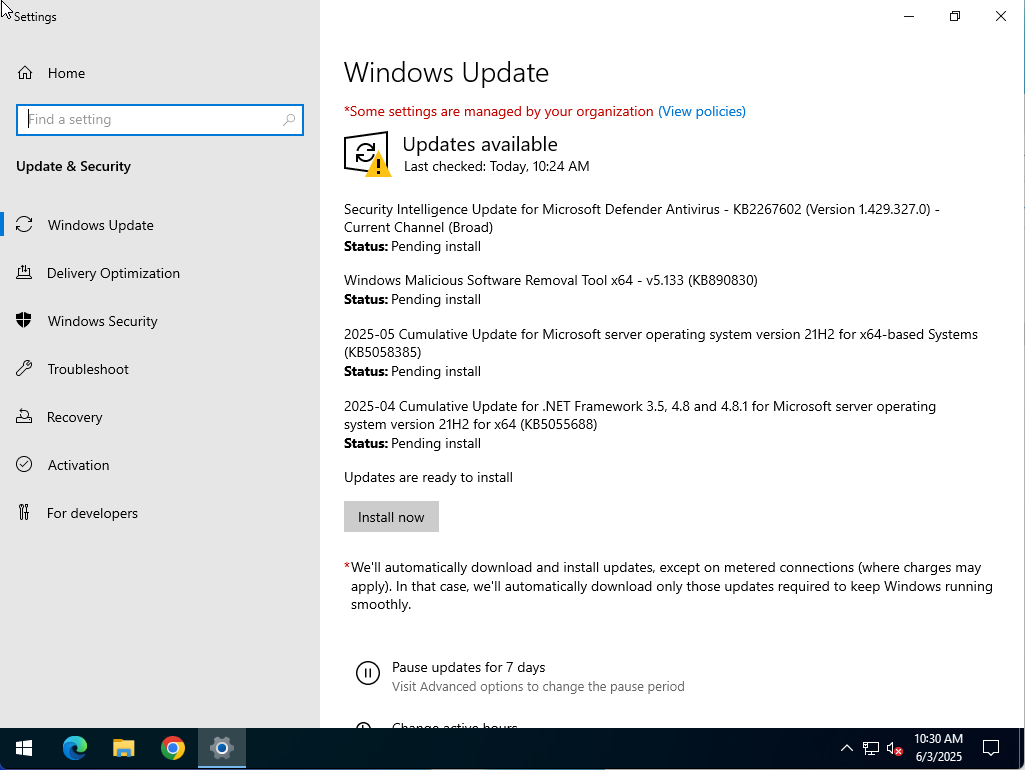
Update Windows.
Go to the NVIDIA Driver download page here.
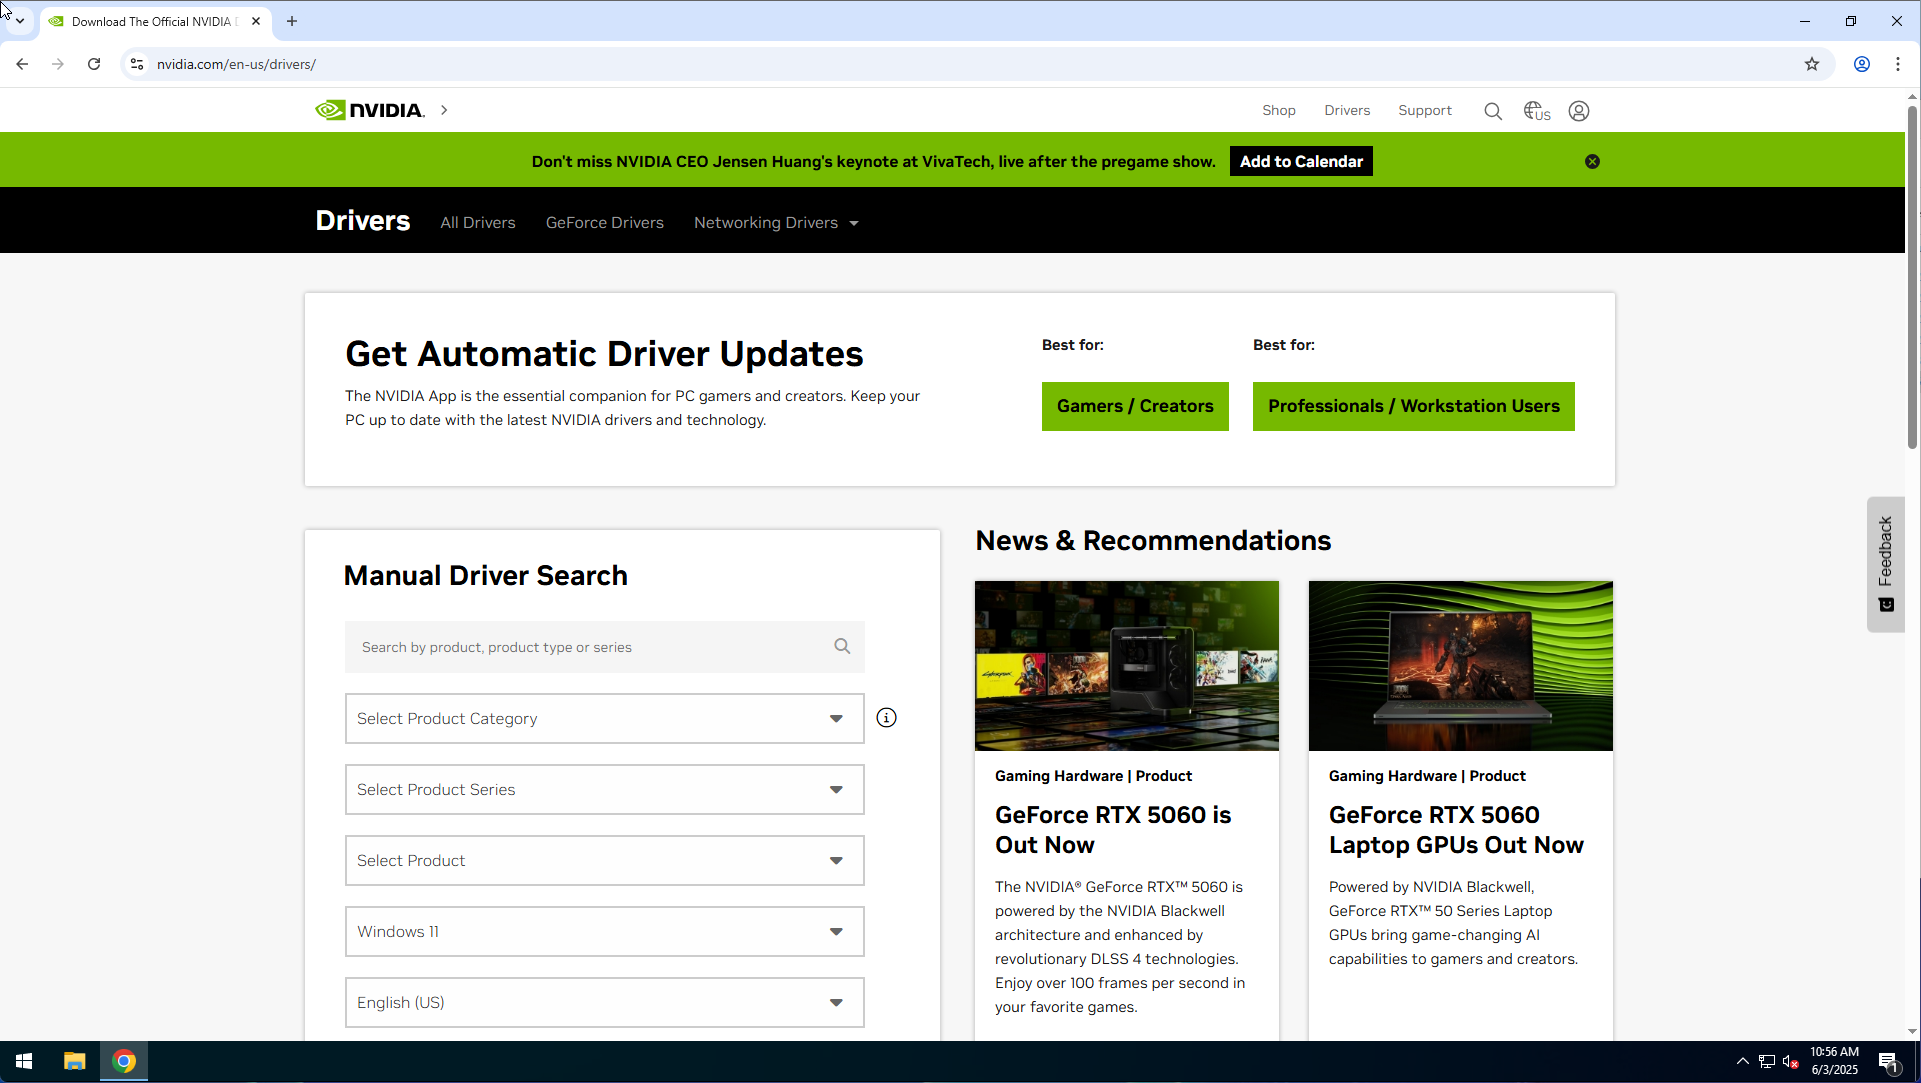
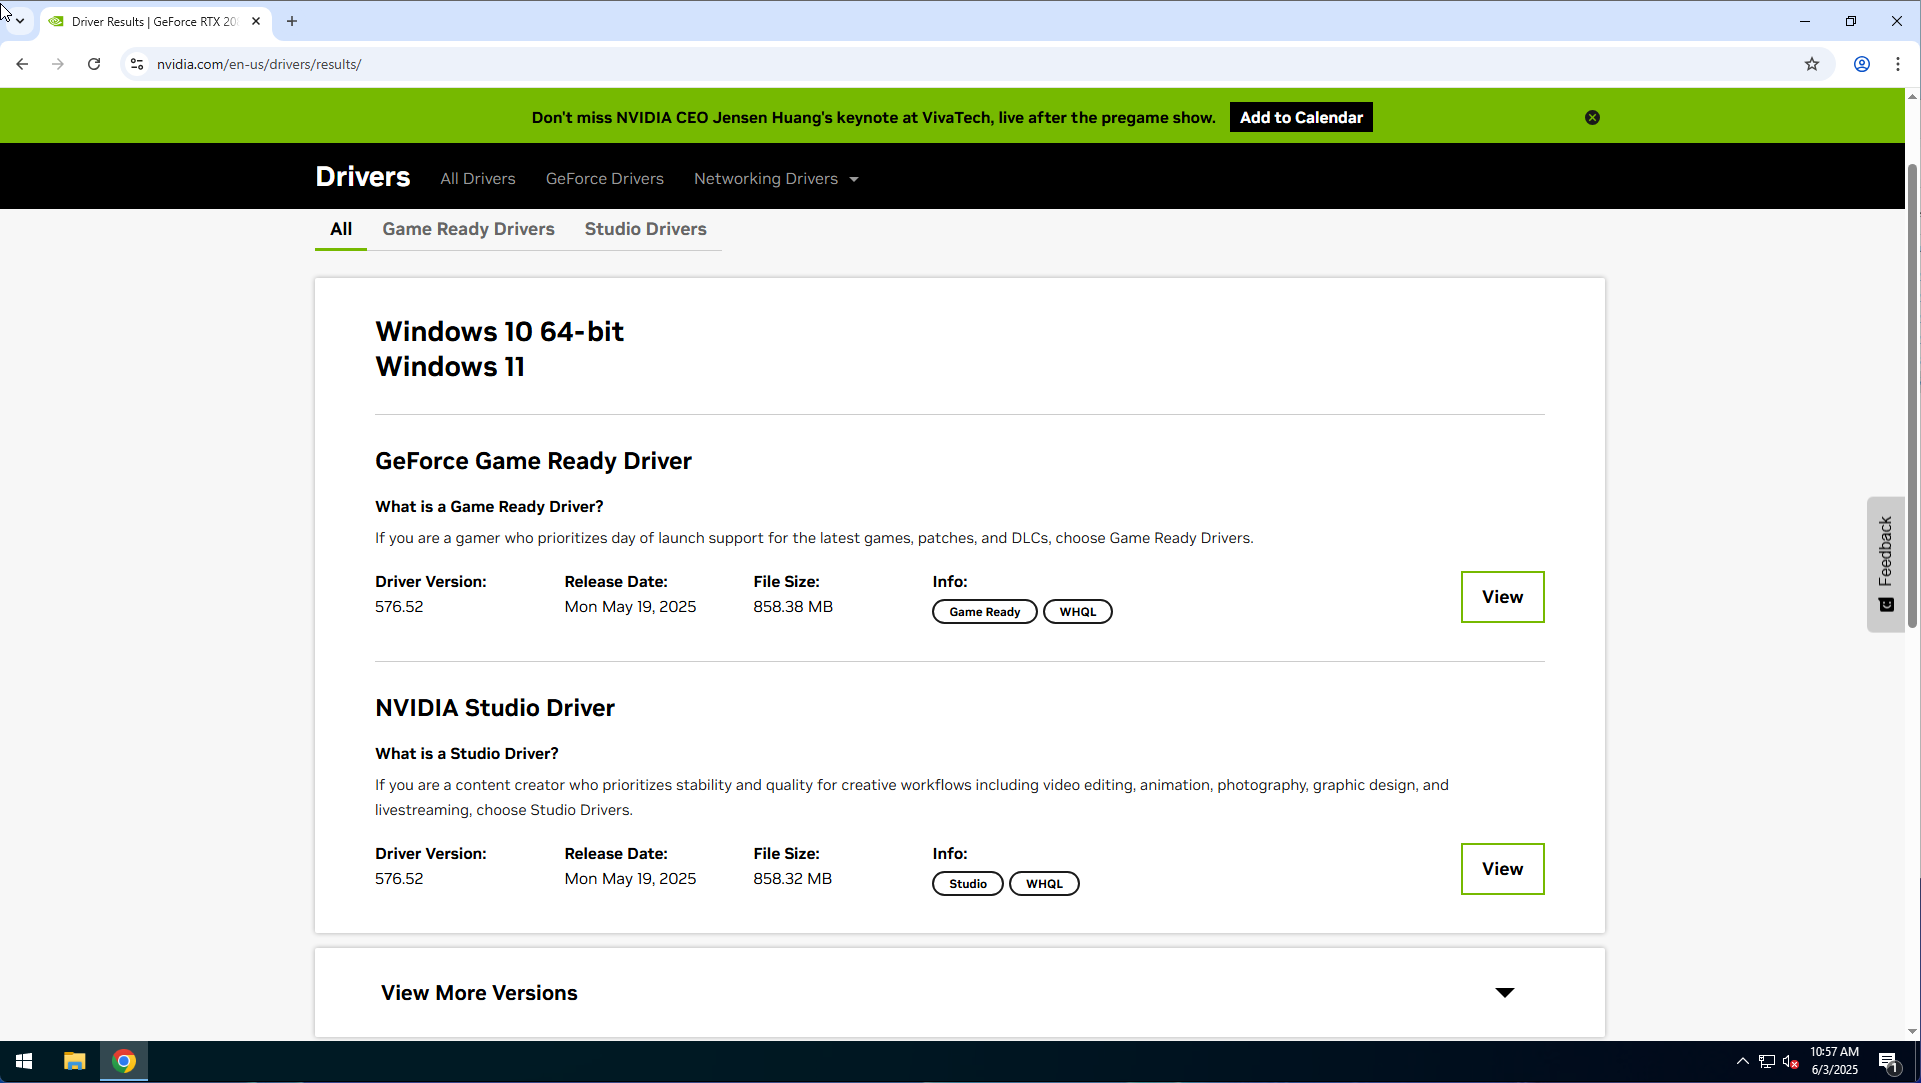
Find the driver for your GPU.
Install the NVIDIA Driver without the NVIDIA App and also without the NVIDIA Experience Desktop.
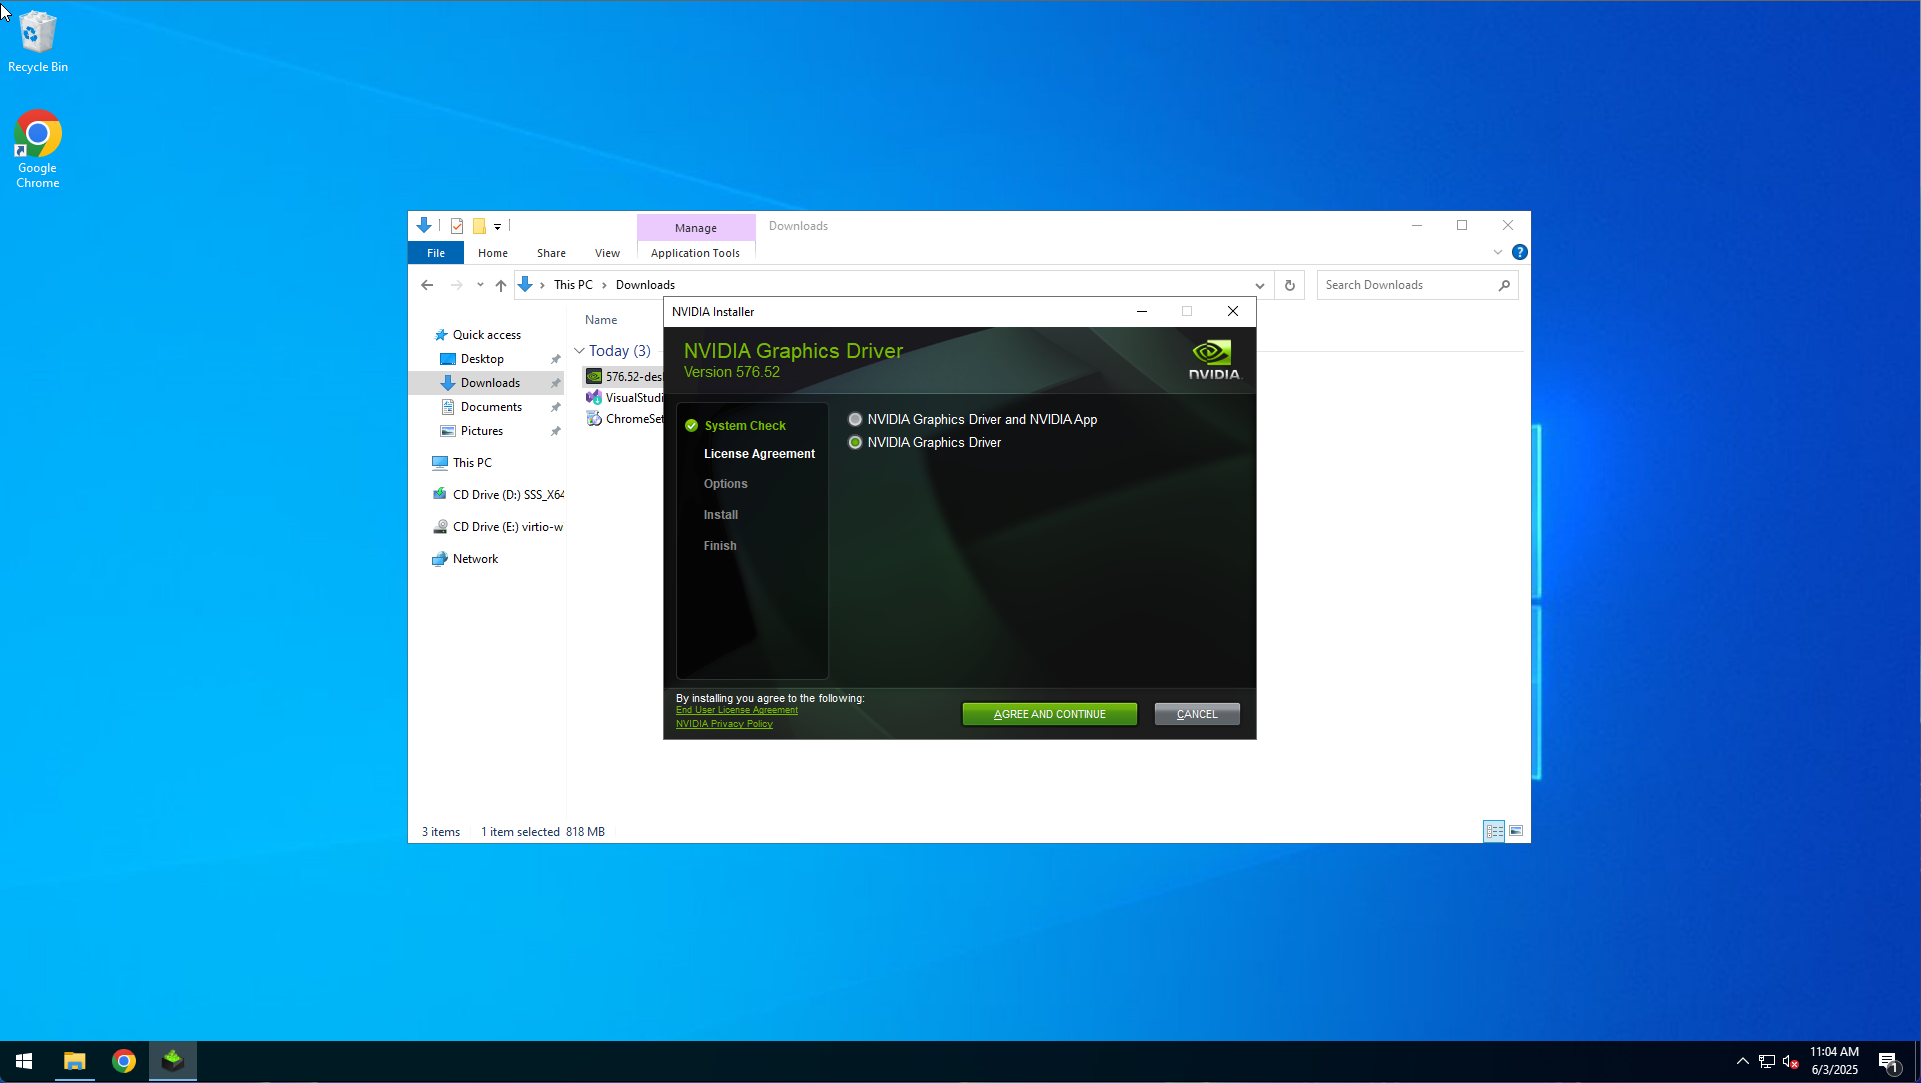
You can just use the default settings for the rest.

Go to the Visual Studio download page here.
Select the '.NET Desktop Development' workload.
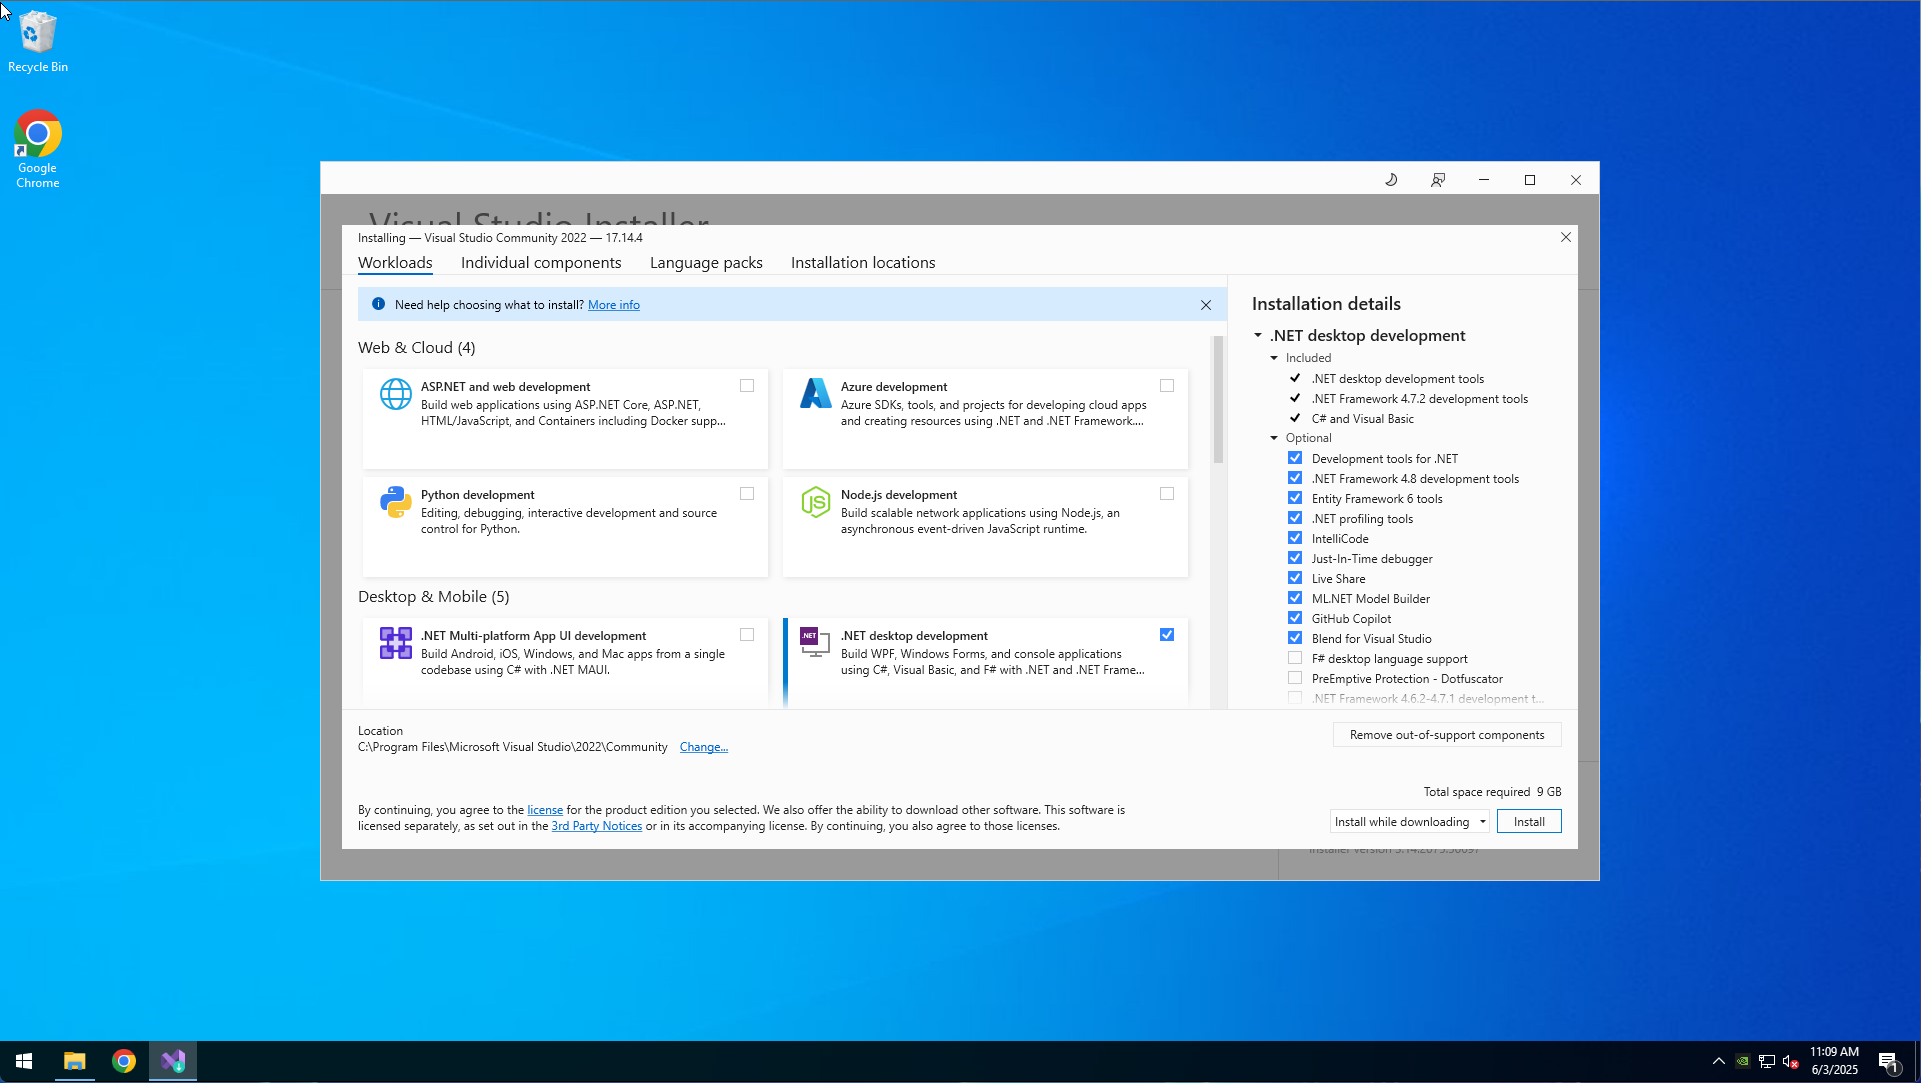
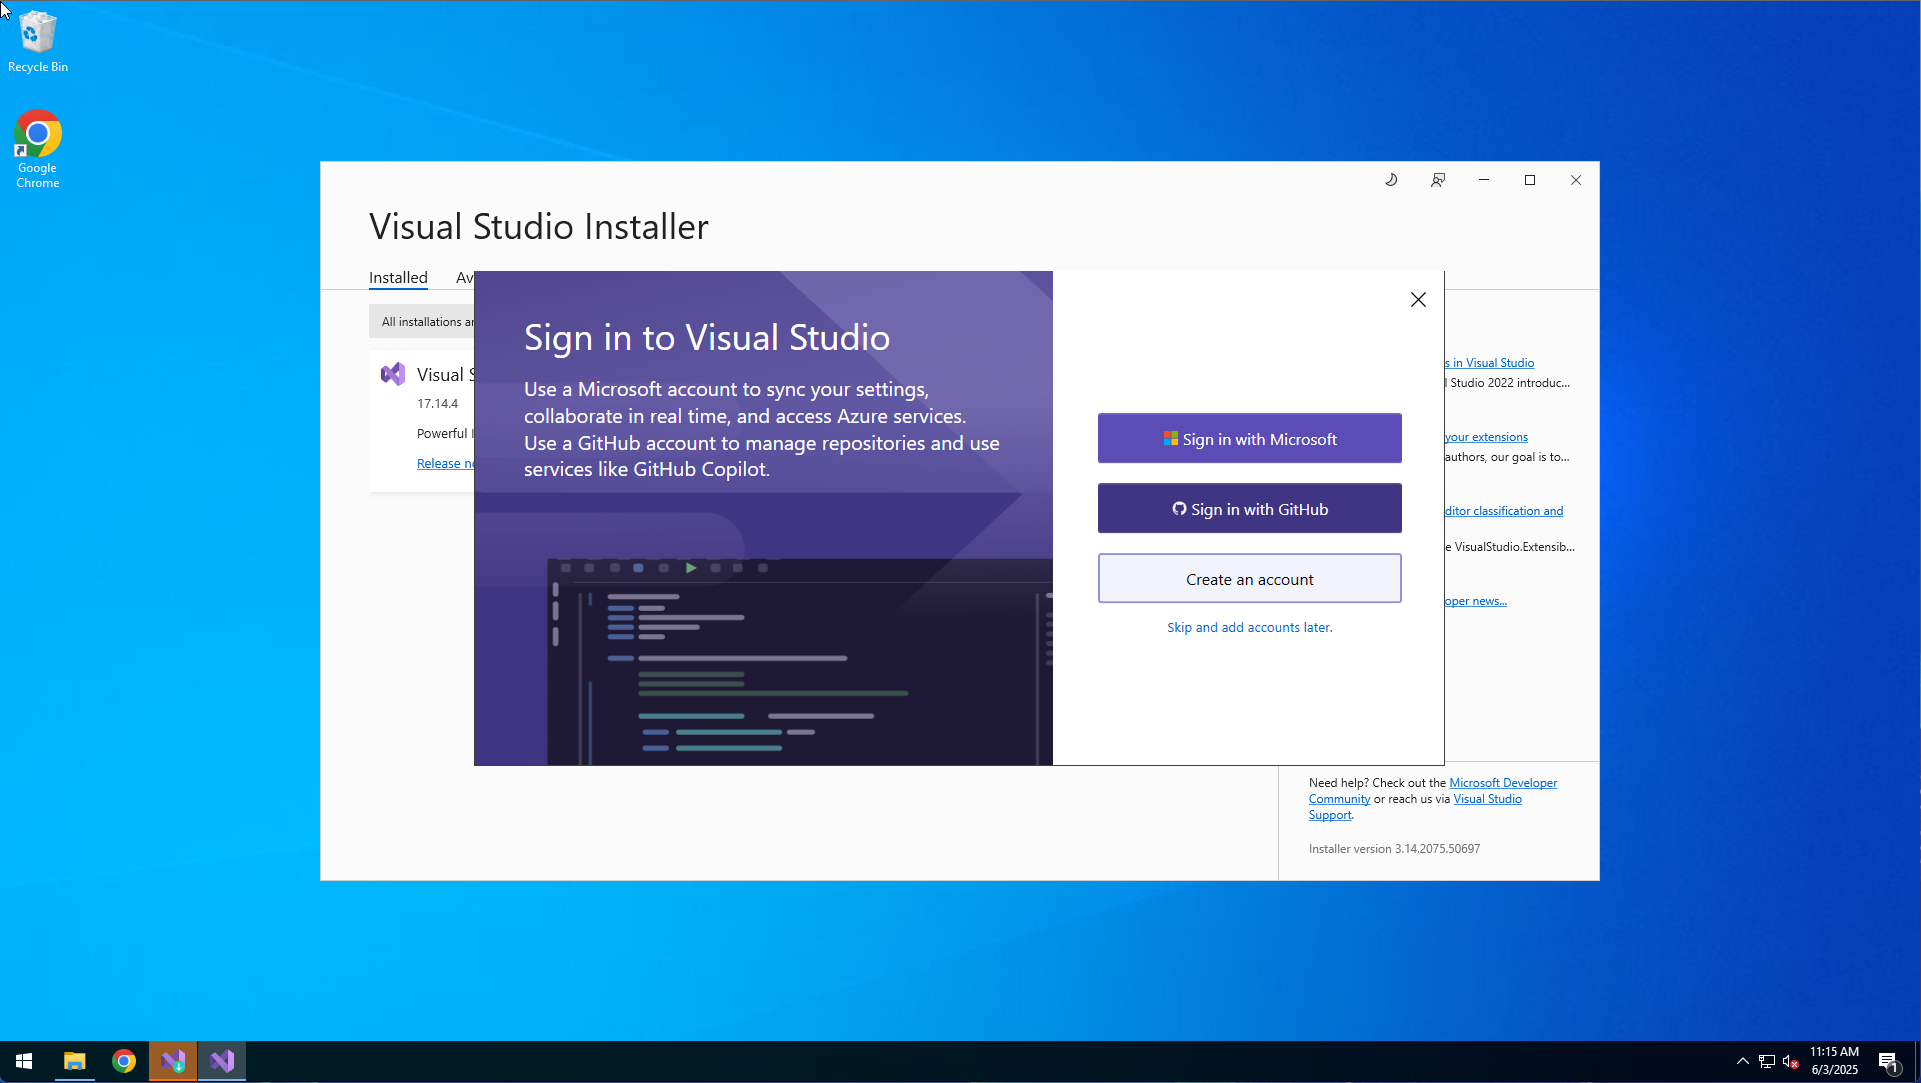
After the installation, you can just close Visual Studio.
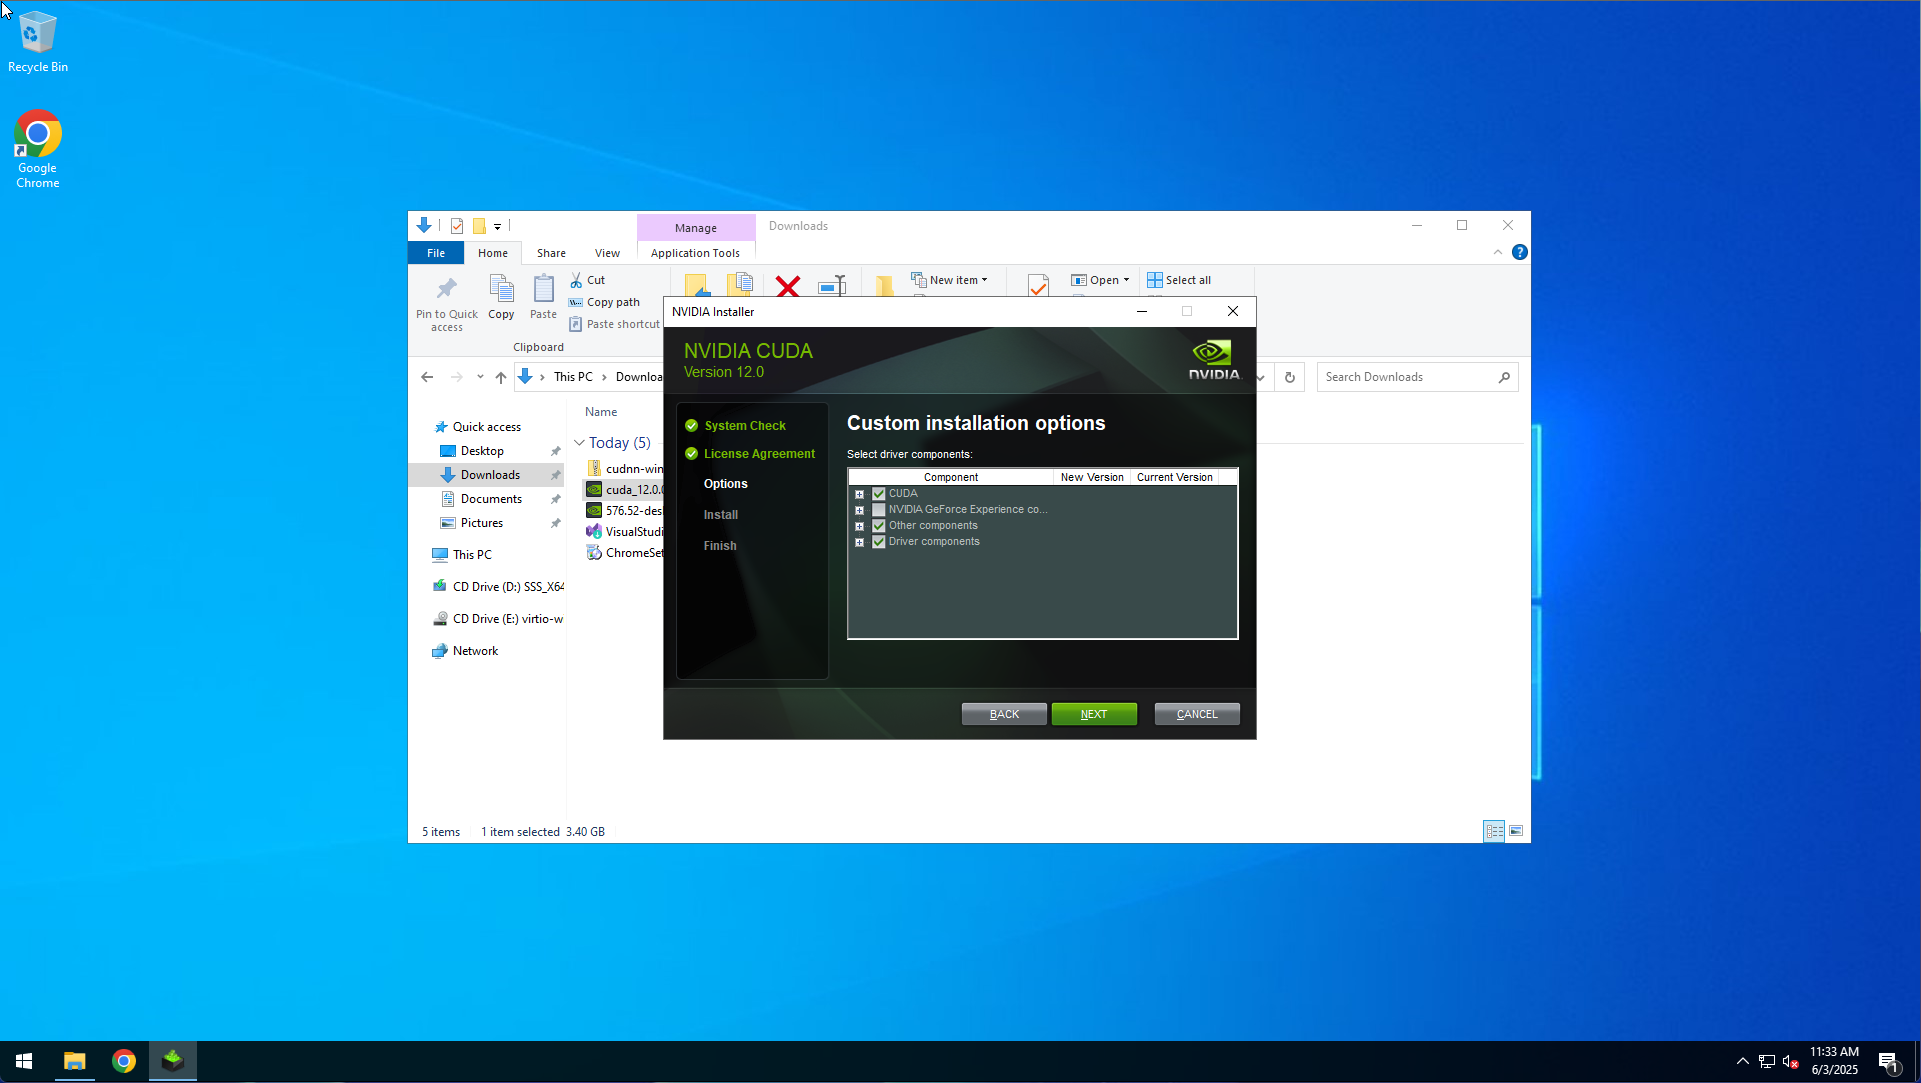
Go to the NVIDIA CUDA Toolkit download page here.
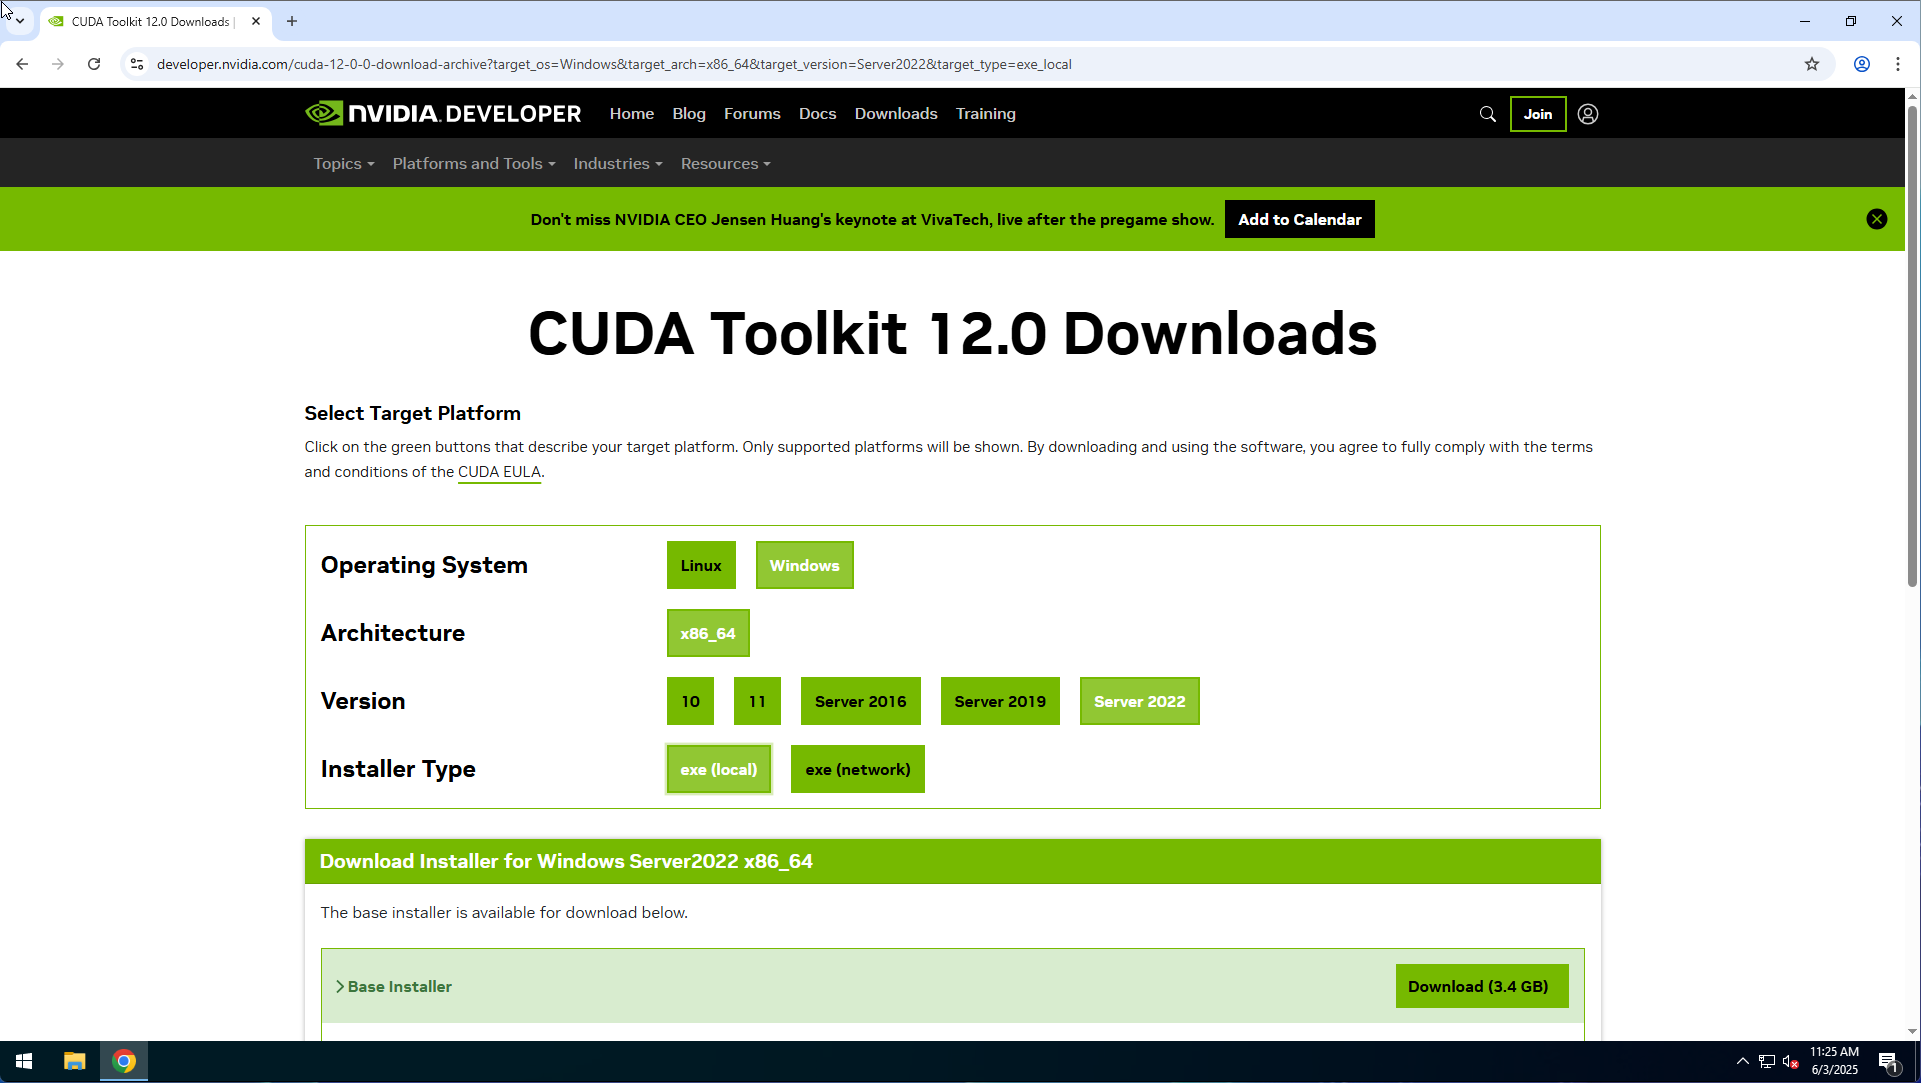
Install the CUDA Toolkit without the NVIDIA App and without NVIDIA Experience.
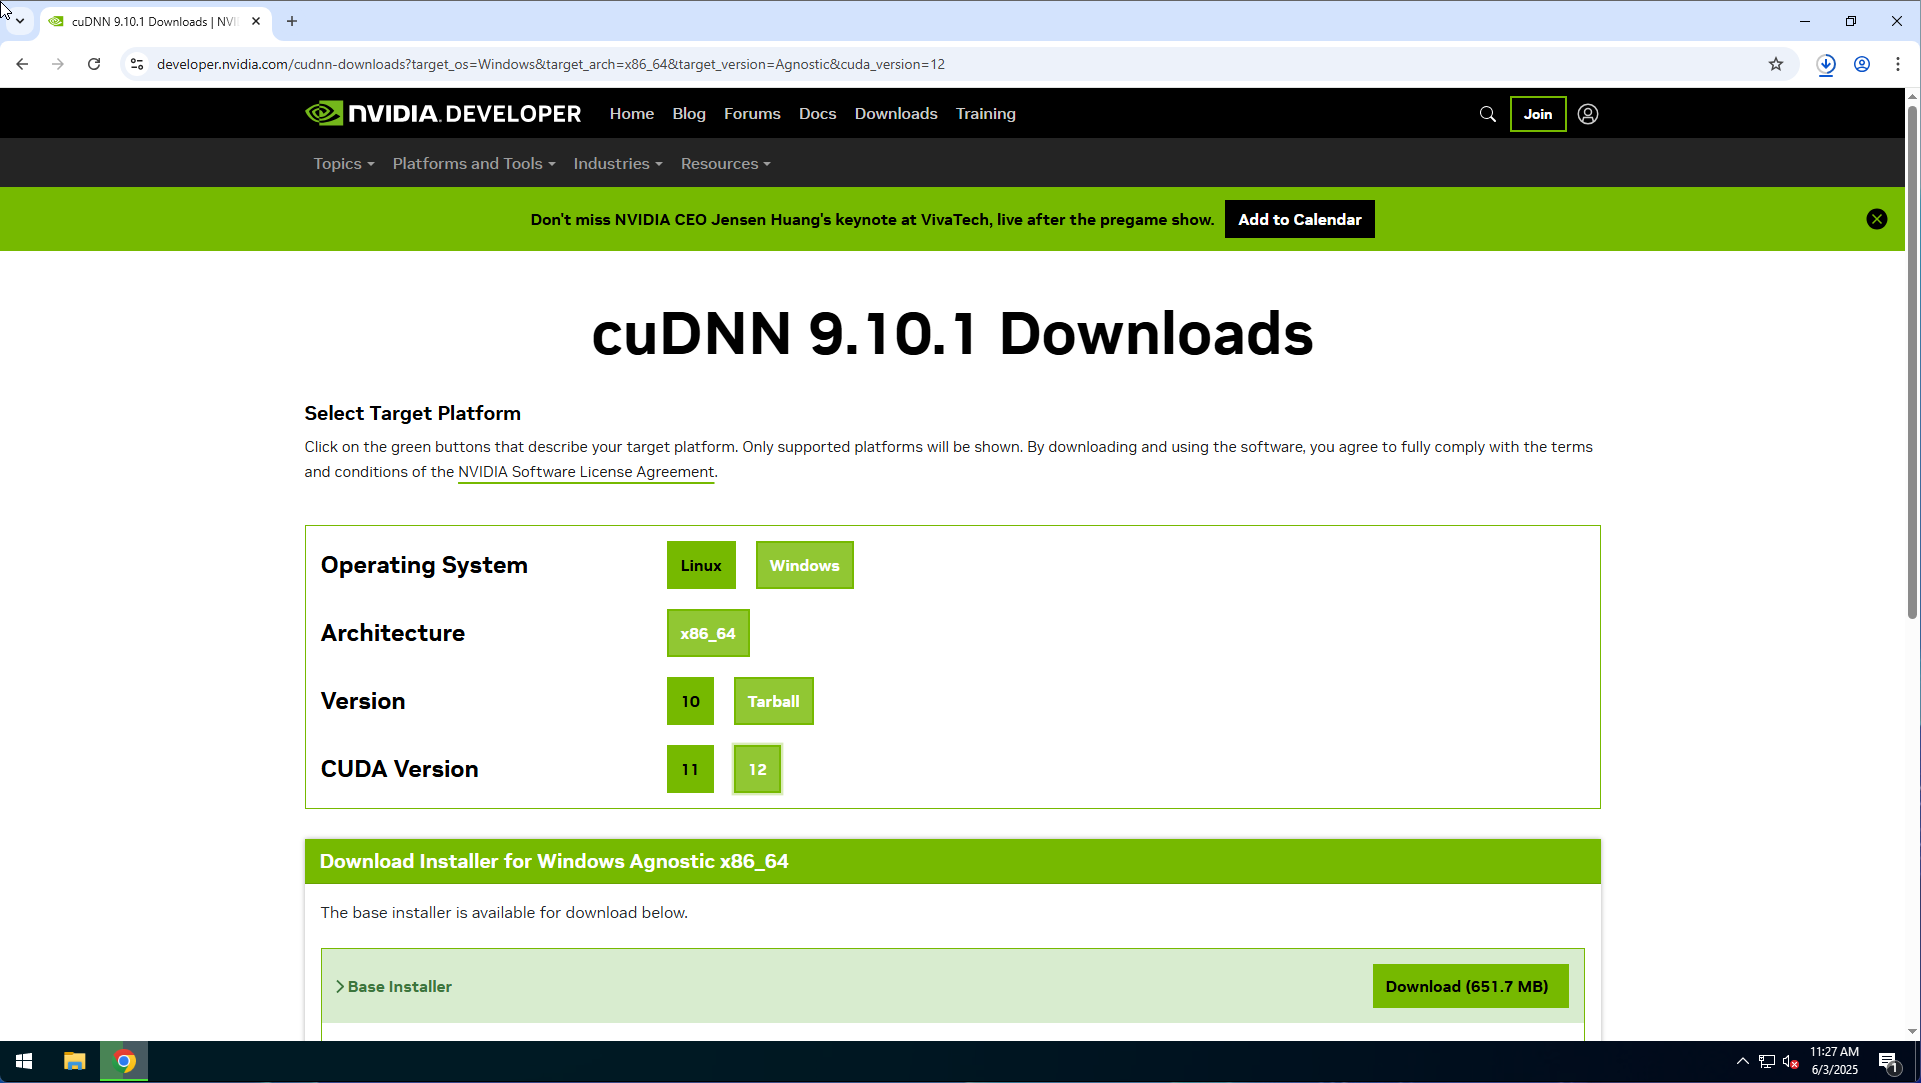
Go to the NVIDIA cuDNN download page here.
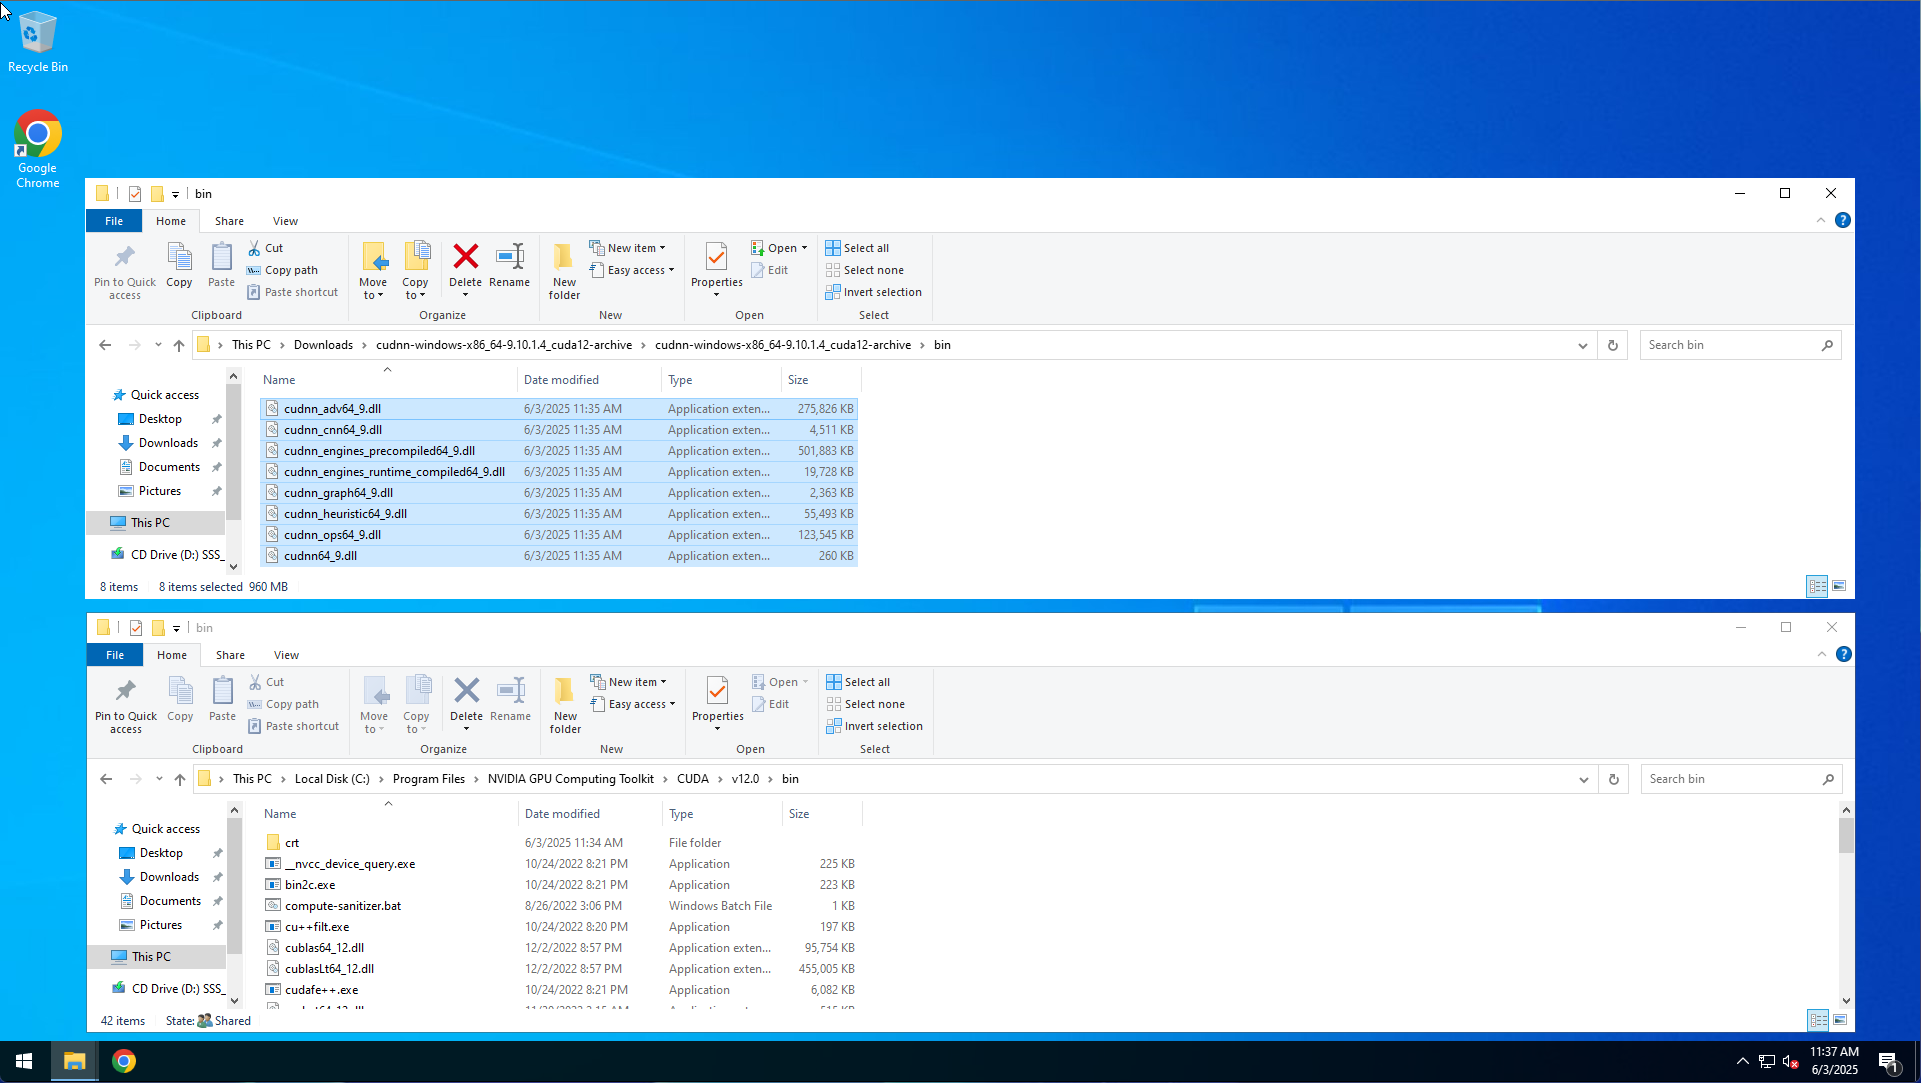
Unpack the cuDNN ZIP and move the files from the cudnn\bin folder into the 'C:\Program Files\NVIDIA GPU Computing Toolkit\CUDA\v12.0\bin' bin folder.
Within the log file there should be an entry like 'CUDA provider successfully appended!'.